


Few makeup techniques capture attention quite like the classic smoky eye. It’s timeless, chic, and the perfect way to add a bit of drama and allure to any look. For many, though, it can feel like an intimidating style to attempt on their own. But here’s the great news: with a bit of practice, the right tools, and a solid guide, creating a professional-looking smoky eye is not only achievable, but you can do it from the comfort of home!
Imagine stepping out with a flawless smoky eye that looks like it was applied by a professional. This guide is designed to take you through each step of the process, giving you tips and tricks along the way to ensure that you achieve the depth, blend, and elegance this look requires. Whether you’re heading to an event or simply want to enhance your makeup skills, this guide is here to help you every step of the way. So, grab your brushes and let’s get started on this makeup journey to the perfect smoky eye!
Key Elements for a Perfect Smoky Eye Look
Before diving into the step-by-step application, it’s important to understand the essentials that will help you achieve a flawless smoky eye look. Here are some of the basics to keep in mind:
- Choose the Right Tools: For the perfect smoky eye, you’ll need a few specific makeup tools: a flat eyeshadow brush for packing on color, a fluffy blending brush for creating smooth transitions, and an angled brush for detail work. Quality brushes make blending easier and can elevate the look.
- Select Your Colors: While a traditional smoky eye is often done in shades of black and gray, there’s no rule that says you can’t explore other colors. Try browns for a softer look, or deep purples and greens for a twist on the classic.
- Focus on Blending: The secret to a smoky eye is in the blend. Blending well is what gives the smoky effect—the colors fade into each other seamlessly, creating a gradient that looks effortless and refined.
- Prep Your Eyes Properly: A great eye primer will create a smooth base for your eyeshadow, helping it to stay vibrant and in place all day. If you don’t have an eye primer, a concealer or foundation works in a pinch.
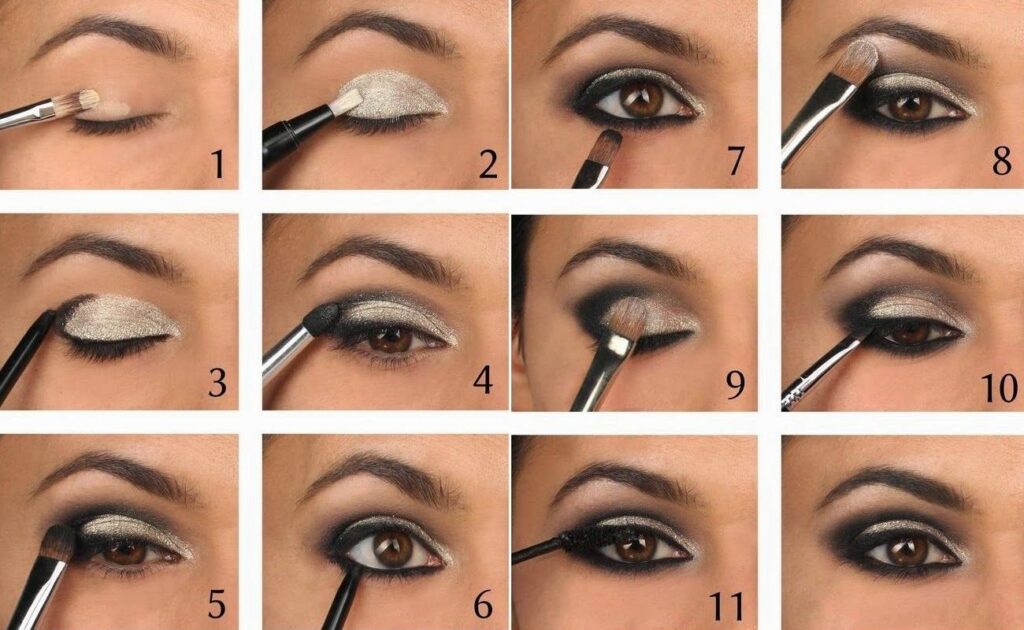
Step-by-Step Guide to a Professional-Looking Smoky Eye
Step 1: Prime Your Eyes for Lasting Color
Begin by applying a small amount of eye primer or concealer across your eyelid. This step is crucial for keeping your shadow vibrant and preventing it from creasing or fading throughout the day. Gently pat the product in with your ring finger until it’s evenly distributed. Set the primer with a translucent powder for an extra smooth base.
Step 2: Lay Down Your Base Shade
Choose a neutral transition color—something close to your skin tone but slightly darker. With a fluffy blending brush, apply this shade to your crease, blending it back and forth in a windshield-wiper motion. This base color will help all the other shades blend smoothly and create the gradient effect that defines a smoky eye.
Step 3: Add Depth to the Crease
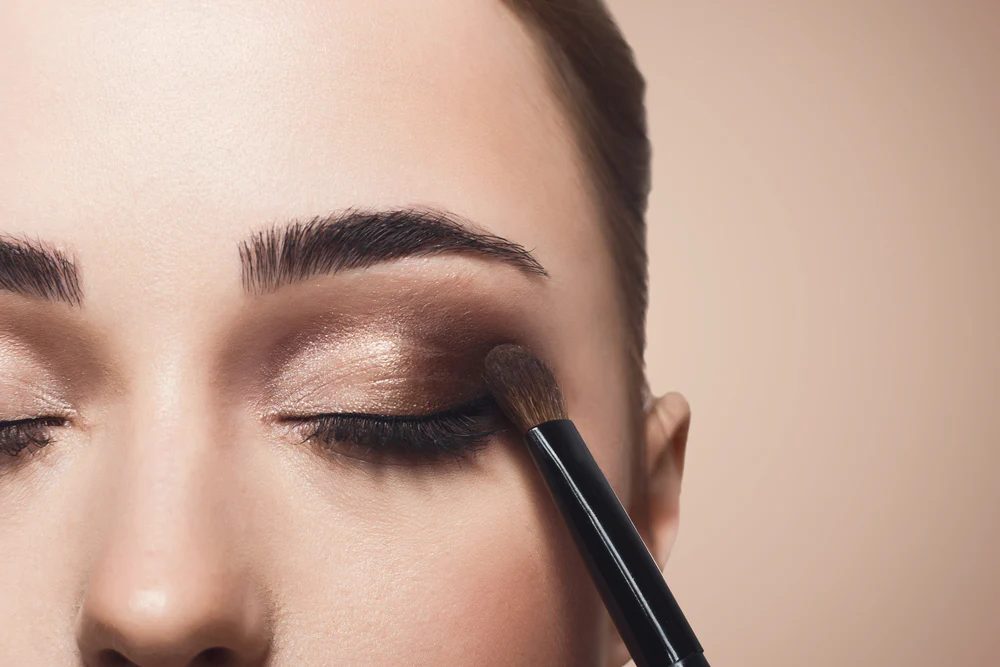
To start building dimension, take a darker shade (usually a deep brown or soft gray) and apply it directly into the crease. With the same blending brush, gently buff the color in a circular motion, concentrating on the outer corner. This creates depth and begins the smoky look by darkening the crease.
Step 4: Pack on the Main Color
For a traditional smoky eye, choose a deep shade, like black, dark gray, or charcoal. Using a flat eyeshadow brush, pack this color onto your eyelid, focusing on the outer half. The key here is to pat, not drag, the color onto your lid for maximum pigmentation. Avoid going above the crease—this will ensure the look remains balanced and sophisticated.
Step 5: Blend, Blend, and Blend Again
With a clean blending brush, start blending the dark color into the crease, merging it with the transition shade. The more you blend, the softer and more professional the look will appear. This step is essential for achieving that seamless, smoky effect.
Step 6: Define with Eyeliner
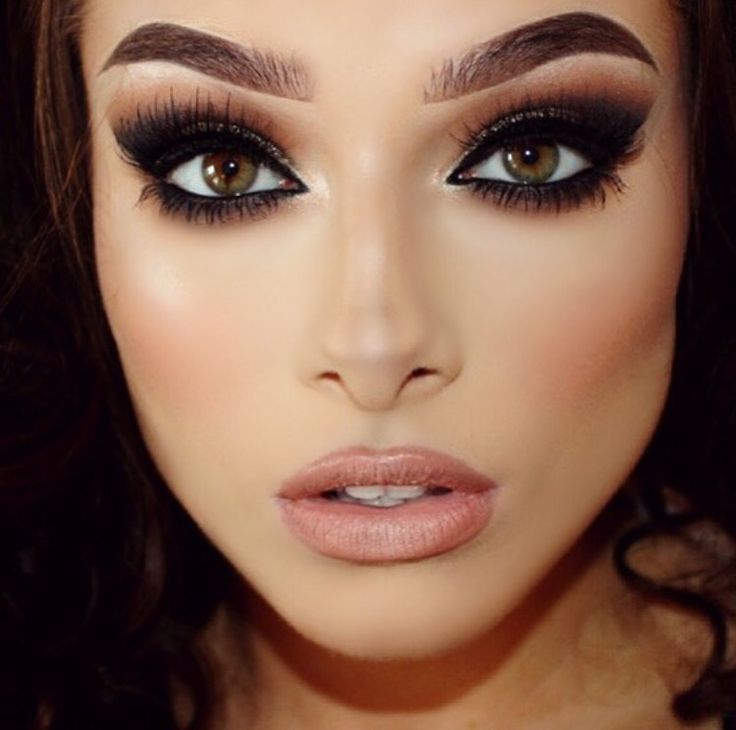
To add intensity, line your upper lash line with a black or dark brown eyeliner. You can smudge this line slightly with an angled brush for a softer look. For an added smoky effect, line your lower lash line as well and gently smudge it out.
Step 7: Highlight the Inner Corners and Brow Bone
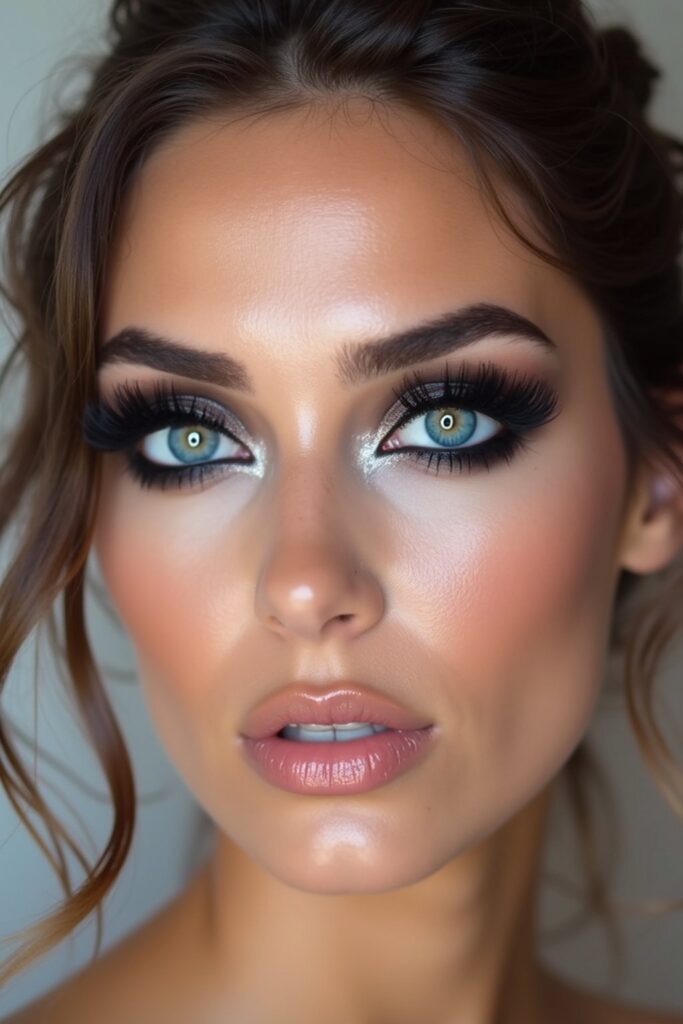
To balance the darkness of the smoky eye, apply a shimmery or light matte shade to the inner corner of your eye and just below your brow bone. This step adds light to your eyes and makes them appear more open and awake, enhancing the overall look.
Step 8: Finish with Mascara and Lashes
Complete your smoky eye with a generous coat of volumizing mascara. If you’re going for extra drama, false lashes can elevate the look further. Choose lashes that are fuller on the outer corners to complement the smoky effect.
Essential Tips for Perfecting the Smoky Eye
A smoky eye is all about balance and control. Here are some extra tips to make your look flawless:
- Blend Slowly: Taking your time with each blending step is key. Rushing through blending can leave harsh lines, which defeat the purpose of a smoky eye.
- Use Quality Products: Eyeshadows that are highly pigmented and easy to blend will make the entire process smoother and yield better results.
- Choose Colors That Suit You: While black is the most classic smoky eye color, shades of brown, plum, or navy can create a softer effect that’s just as beautiful.
- Perfect Your Lower Lash Line: Smudging a little bit of shadow along your lower lash line will tie the whole look together, adding to that coveted smoky effect.
- Keep Your Base Makeup Minimal: When doing a bold smoky eye, balance it out with a natural base makeup look. This ensures that your eyes remain the focal point.

Mastering the Art of the Smoky Eye
Achieving the perfect smoky eye doesn’t have to be intimidating. With practice and a few professional techniques, you’ll be able to recreate this iconic look at home with confidence. Patience and precision are key, along with a commitment to blending until your shades seamlessly merge.
When done right, a smoky eye can add a touch of mystery and glamour to any occasion. So next time you reach for your brushes, remember these steps, and let your eyes do the talking!